
Hi guys!! Can you believe Christmas is just one week away??? Where does time keep going?!?! I feel like Halloween and Thanksgiving were just yesterday. I hope you are spending plenty of time enjoying your loved ones and taking them in! Spend this week cuddled up with your partner, babies, dogs, cats, siblings, parents, friends and more, watching movies, baking, and making memories.
I also hope hope you spend this week coming back to my blog because I’m posting A NEW CHRISTMAS POST EVERYDAY UNTIL CHRISTMAS!! I want to spread a little Christmas cheer into your lives, so please make sure you come back for all the fun posts I have planned. I feel like I’ve been neglecting the blog, so I owe you at least this much ❤
COUNTDOWN TO CHRISTMAS: Day 1 of 7
CHRISTMAS CAKE BALLS
Today I want to show you guys this incredibly simple, cheap, and delicious holiday treat! These simple cake balls!
WHAT YOU NEED
Box of Cake- whatever you prefer (chocolate, vanilla, lemon, strawberry, red velvet, etc.)
Frosting- whatever you prefer
White Chocolate Chips
Chocolate chips
Decorative Options- Icing, sprinkles, edible christmas things
Step 1- Bake a Cake
No need to get fancy, go to the grocery store and get a box of cake. I got betty crocker triple chocolate cake for 88 cents at my local store! Follow the simple mix and bake instructions on the box. While the cake is baking, here’s what needs to get ready to make our lives super easy!

I’m going to set up the chocolate chips in different bowls with a tiny bit of coconut oil. The oil helps it mix when melted.

I gonna dump frosting into a bowl. Start with a small amount and then you can add to taste later.

I got these for 88 cents each to decorate with.

The cake is done!
Step 2- Mix the Cake and Frosting


I found that using vinyl gloves was crucial for me because of my long nails. With gloves on, I smushed the now cool cake with the frosting. If you don’t use gloves, make sure your hands are squeaky clean.
Step 3- Dipping the Cake Balls

Now that the batter is all ready, it’s time to ball them up and dip them in chocolate! You want to melt the chocolates one bowl at a time, 45 seconds in the microwave. This way, you can dip half of them in one chocolate and they will be dry and ready to decorate by the time your done with the other chocolate!

I balled the dough and dipped in white chocolate, now the milk chocolate!
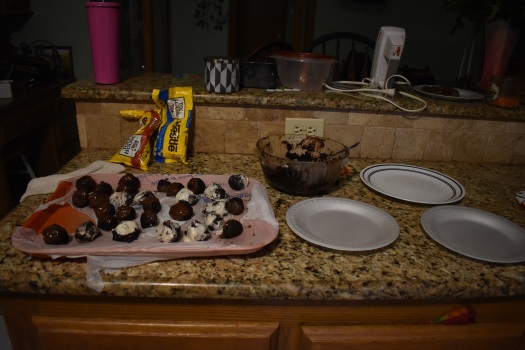
After that, I still have plenty of batter left. I’m just going to refrigerate this and make more later! I set up a few plates for decorating and serving. You want to decorate on a different plate than serving, because this can get messy!
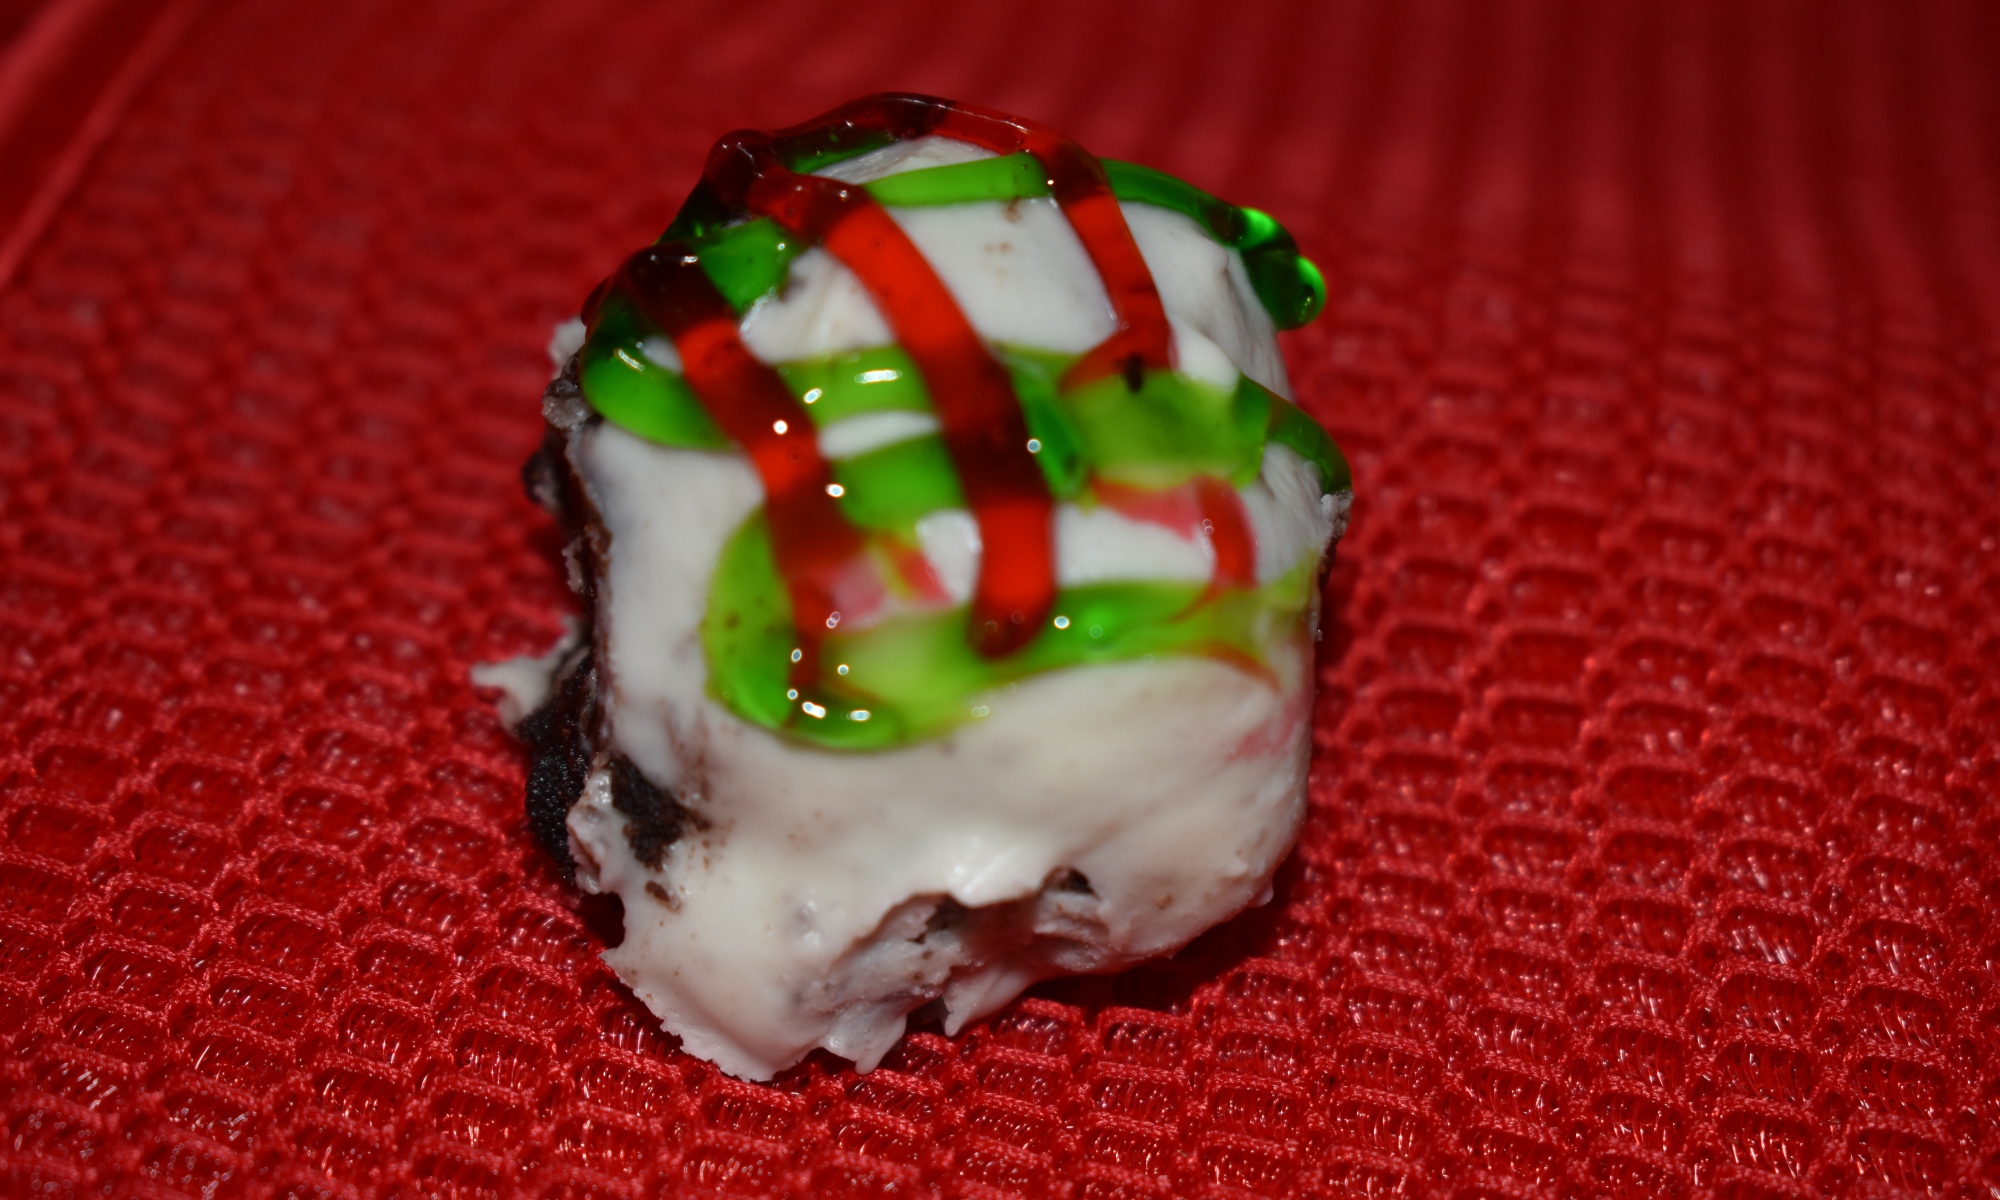
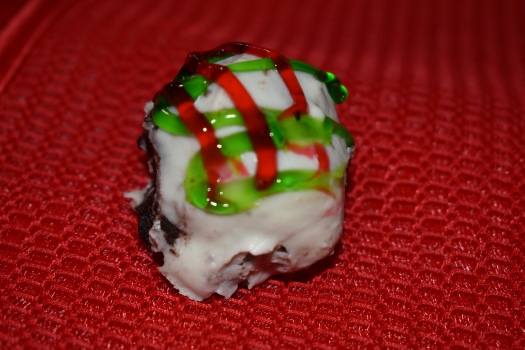
Step 4- Decorate
This is where you can get creative! Do whatever you want. I didn’t have enough time or cute decorations to do something super blog worthy. As you can see, I made a plate for my friend who just graduated and wrote a letter on each cake ball! I recommend letting the chocolate harden before decorating.

I hope you guys enjoyed that and have a wonderful week! Please come back tomorrow for another new Christas related post! Check out some other posts below!
MERRY CHRISTMAS

